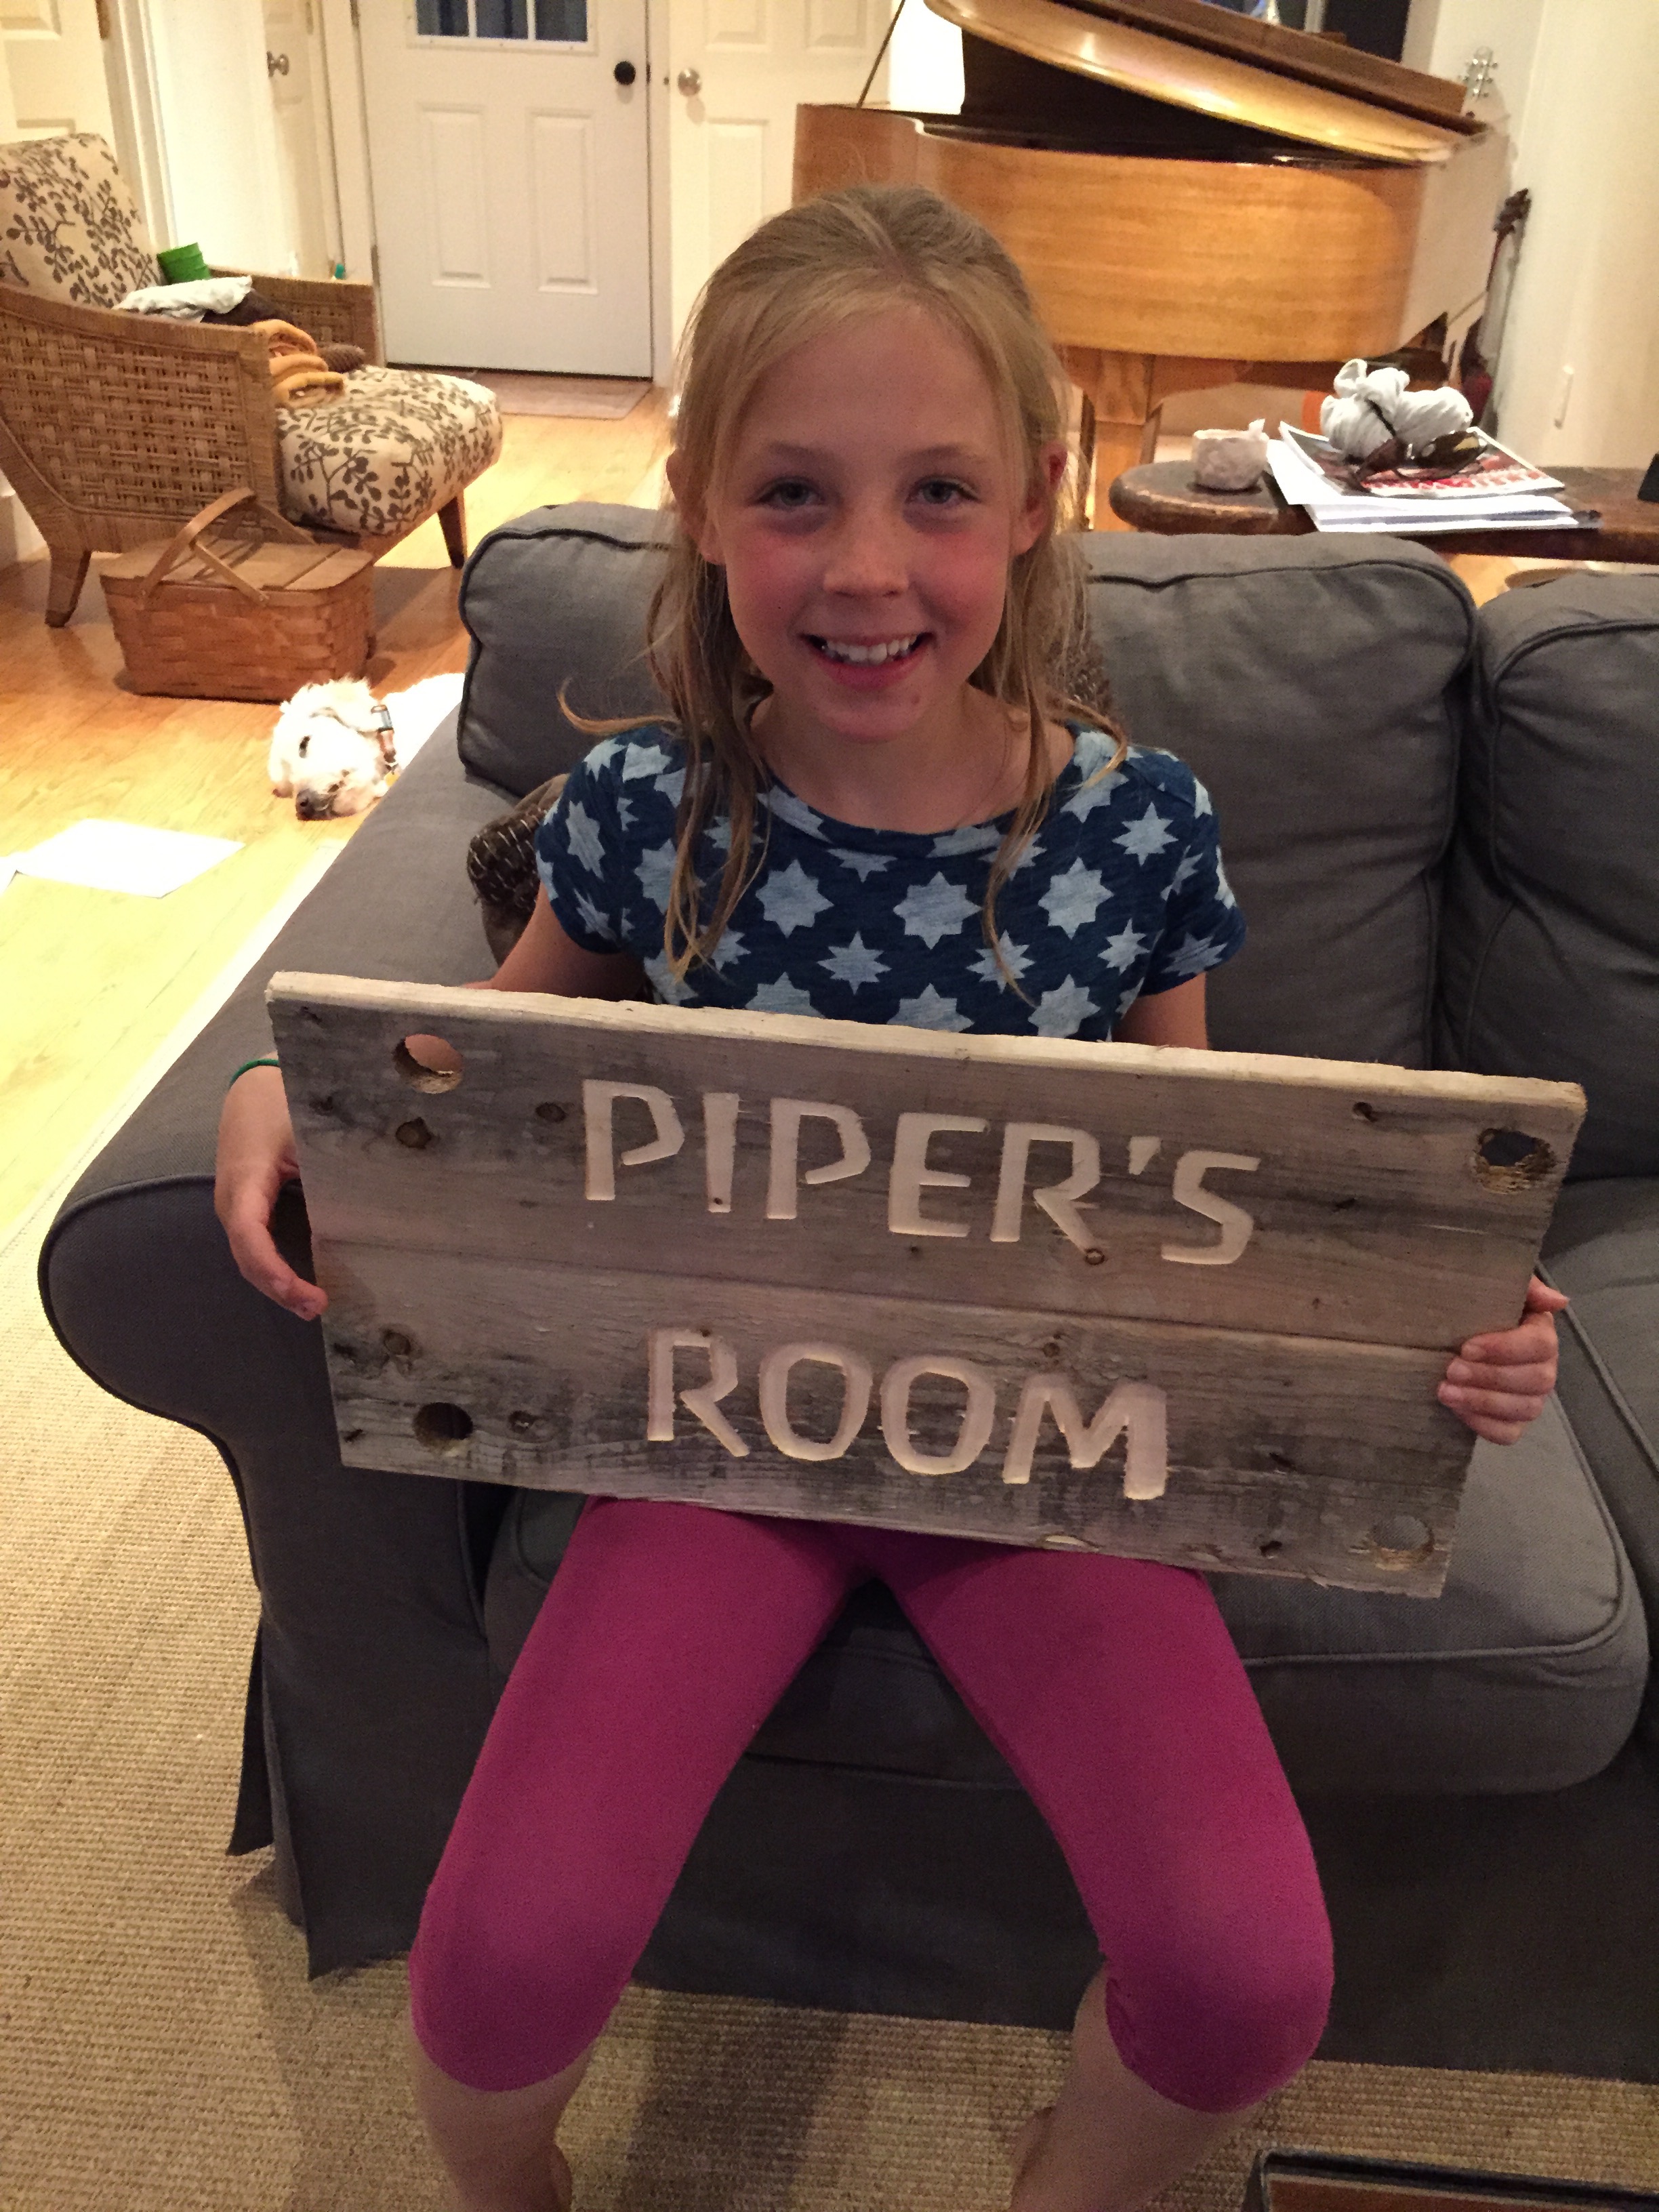
Shapeoko 3 CNC Machine
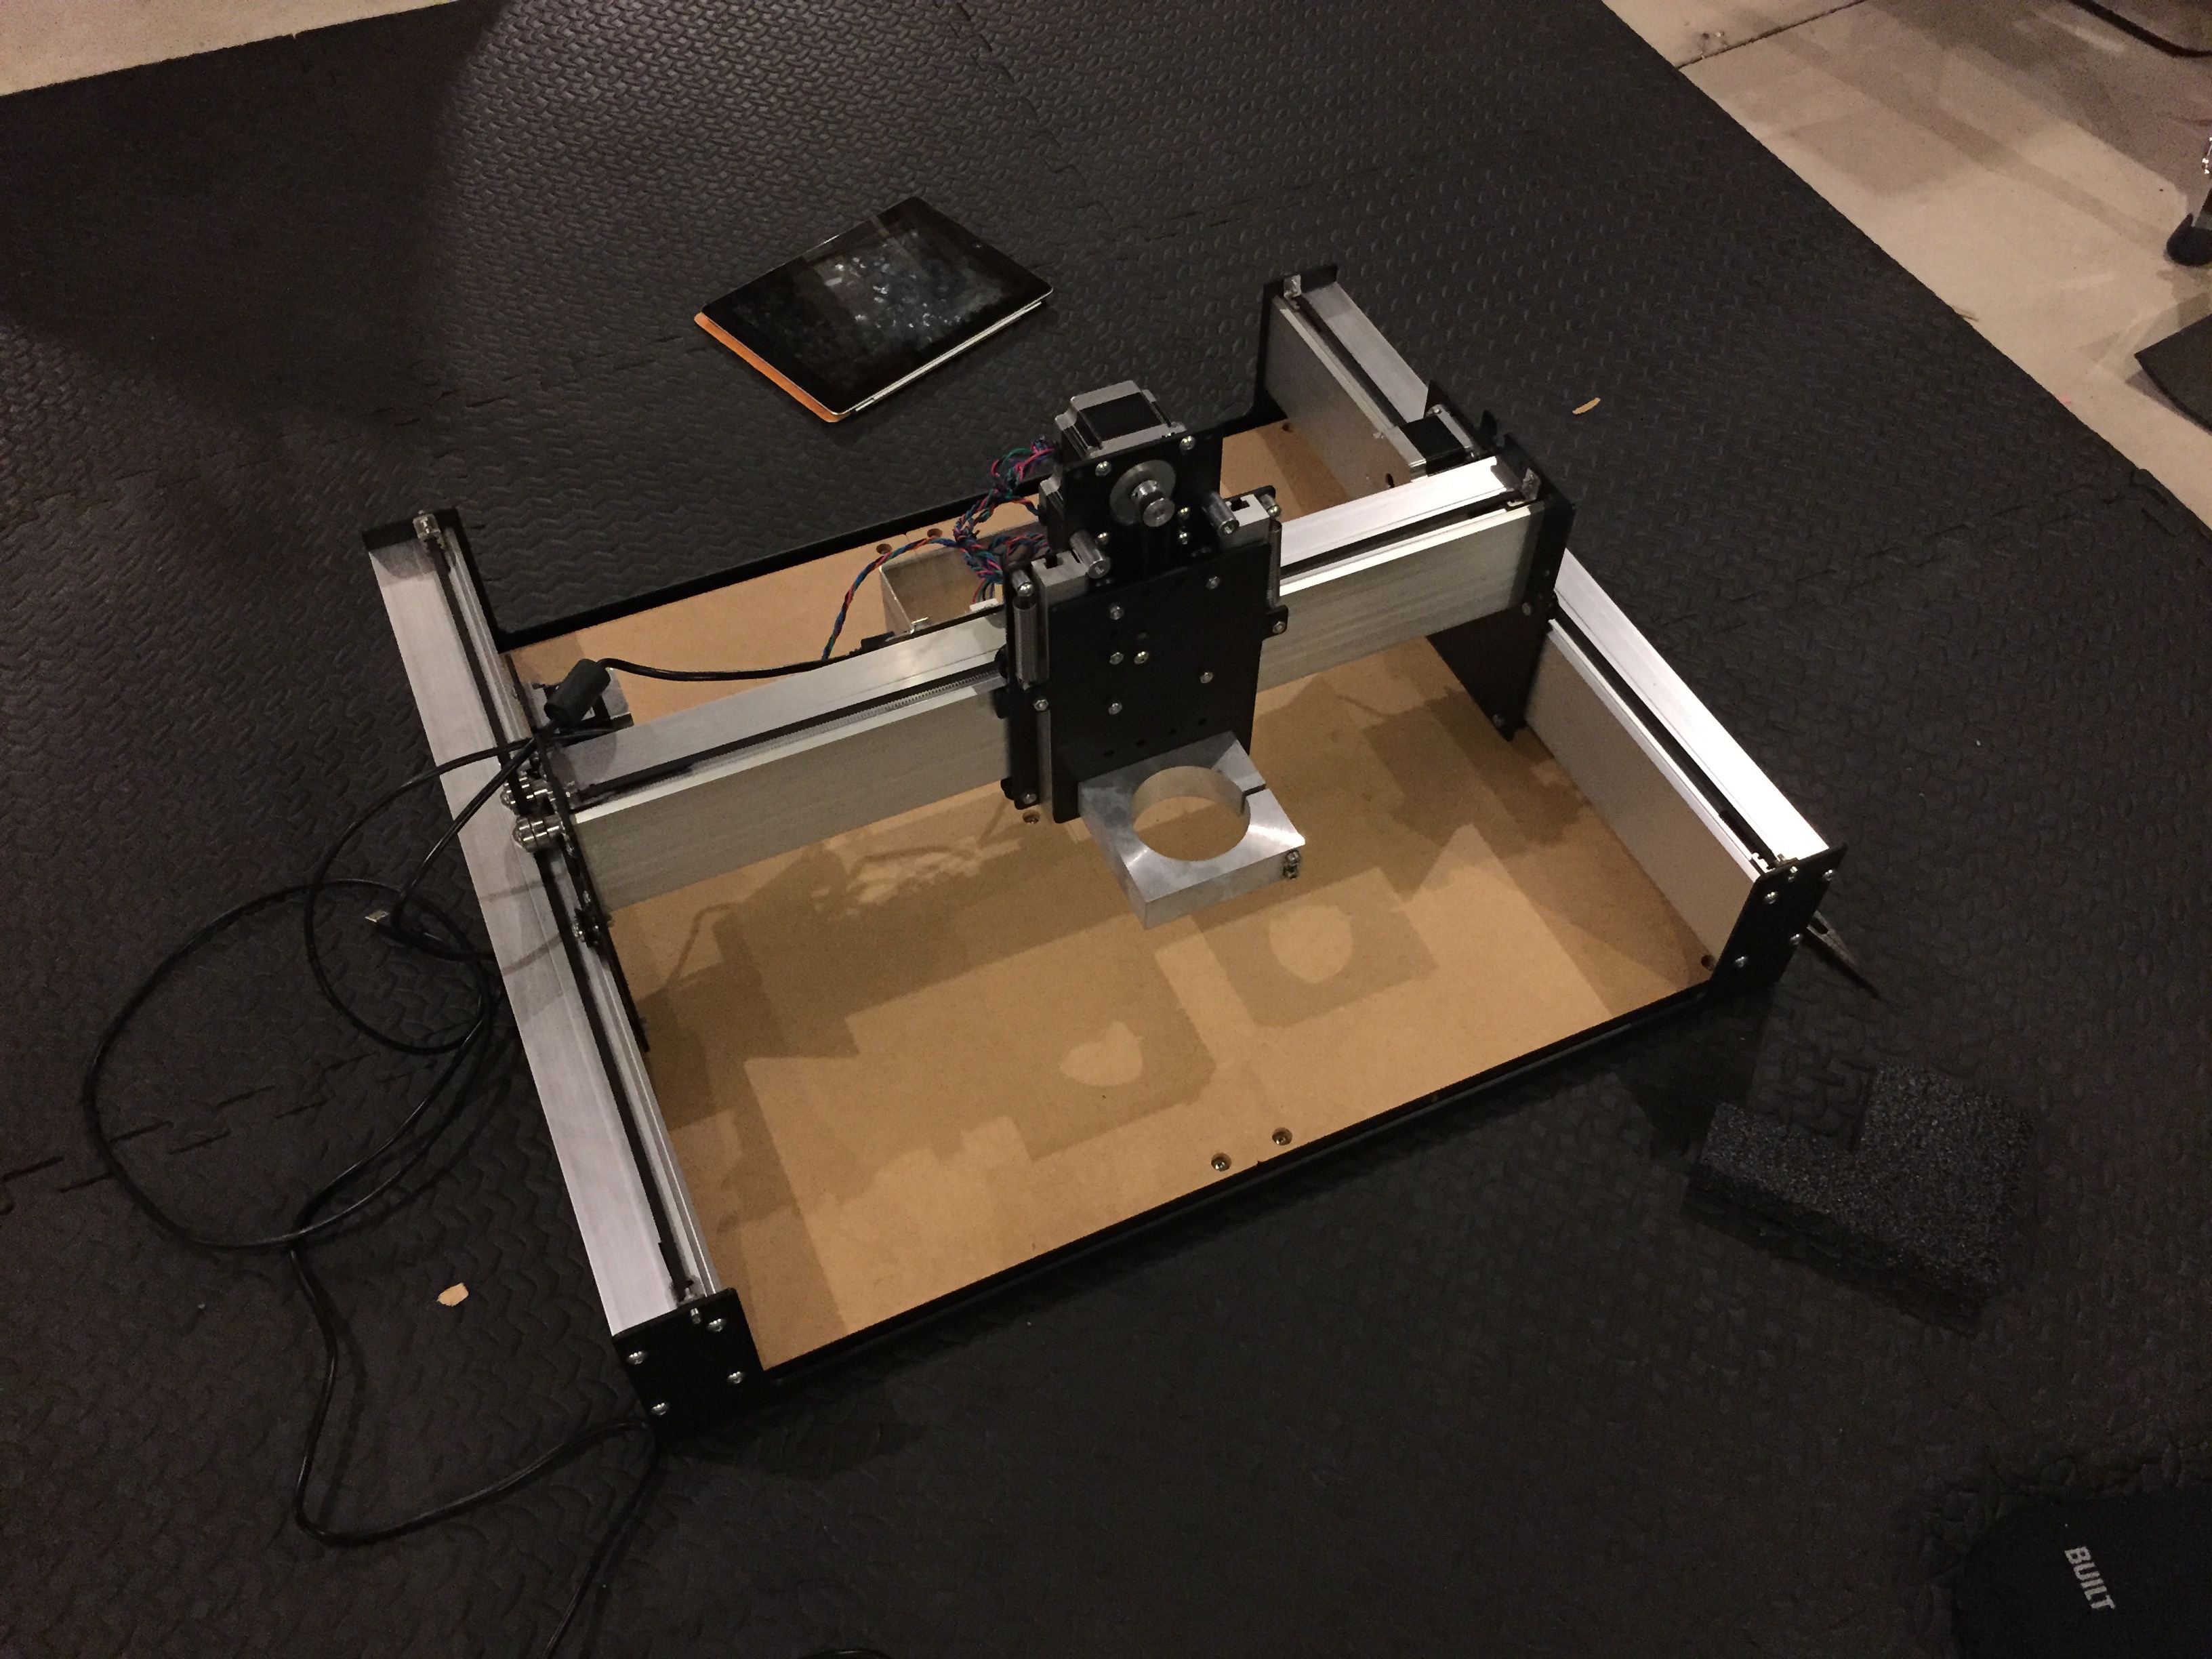
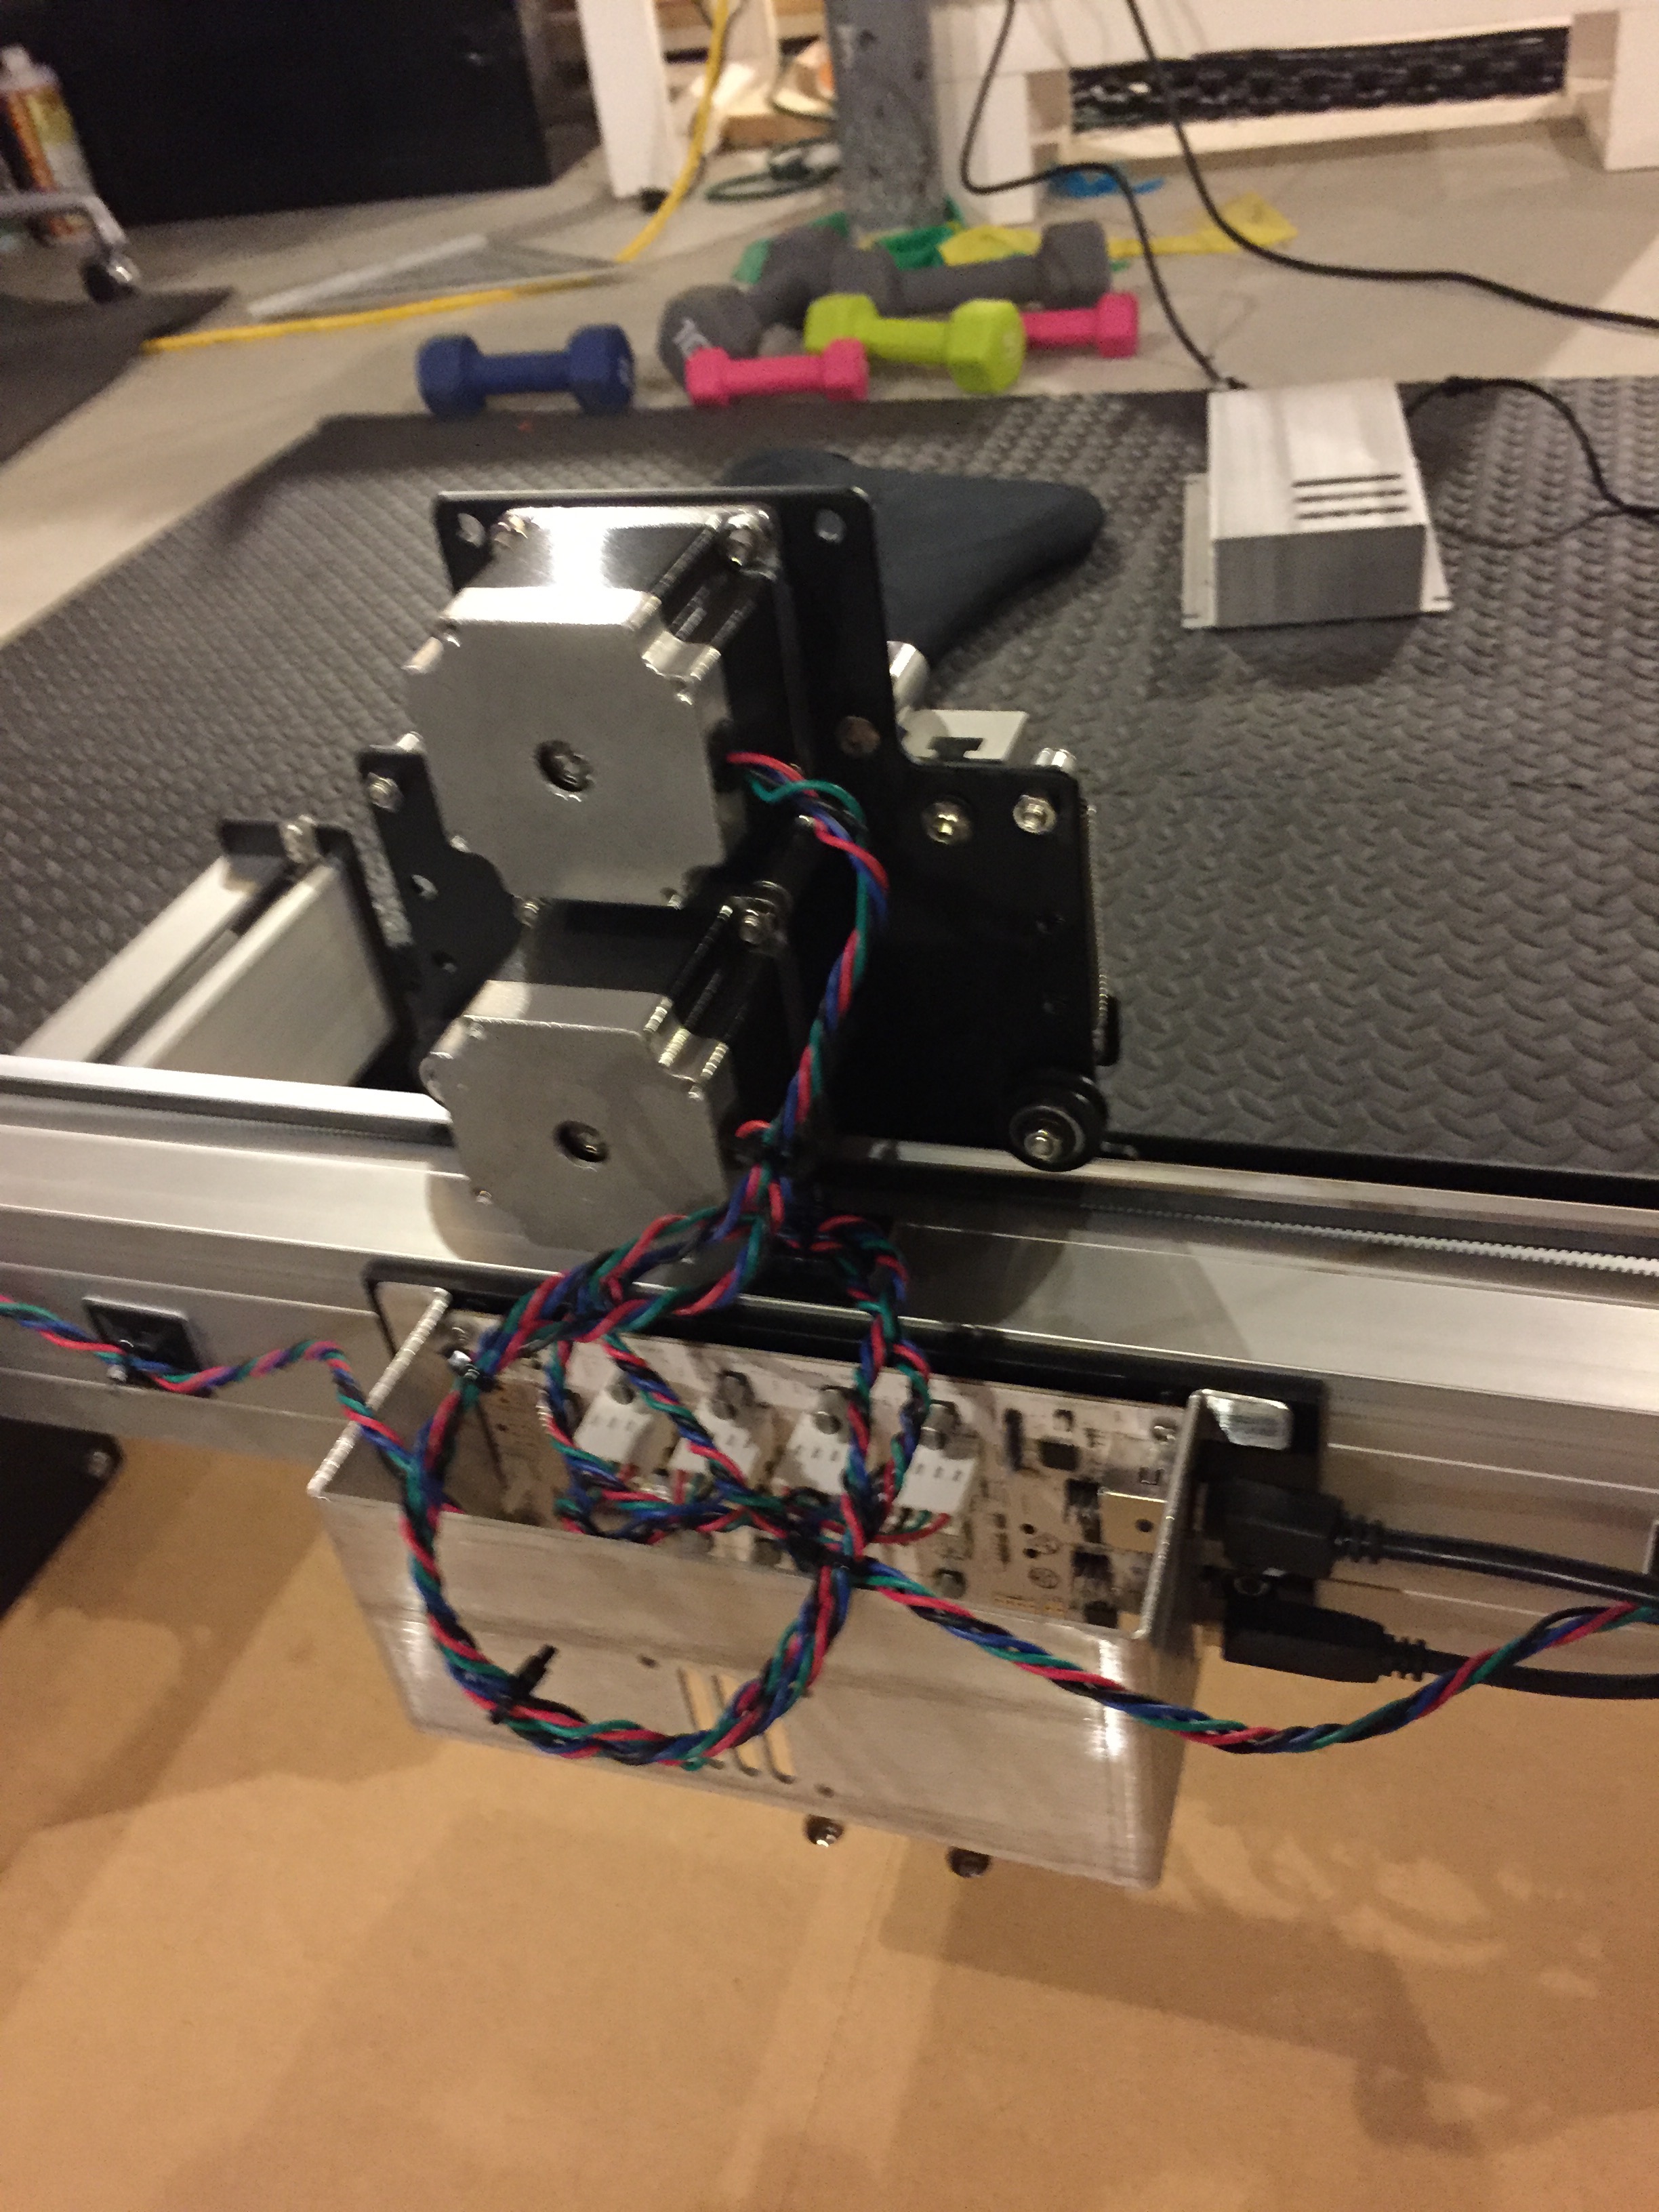
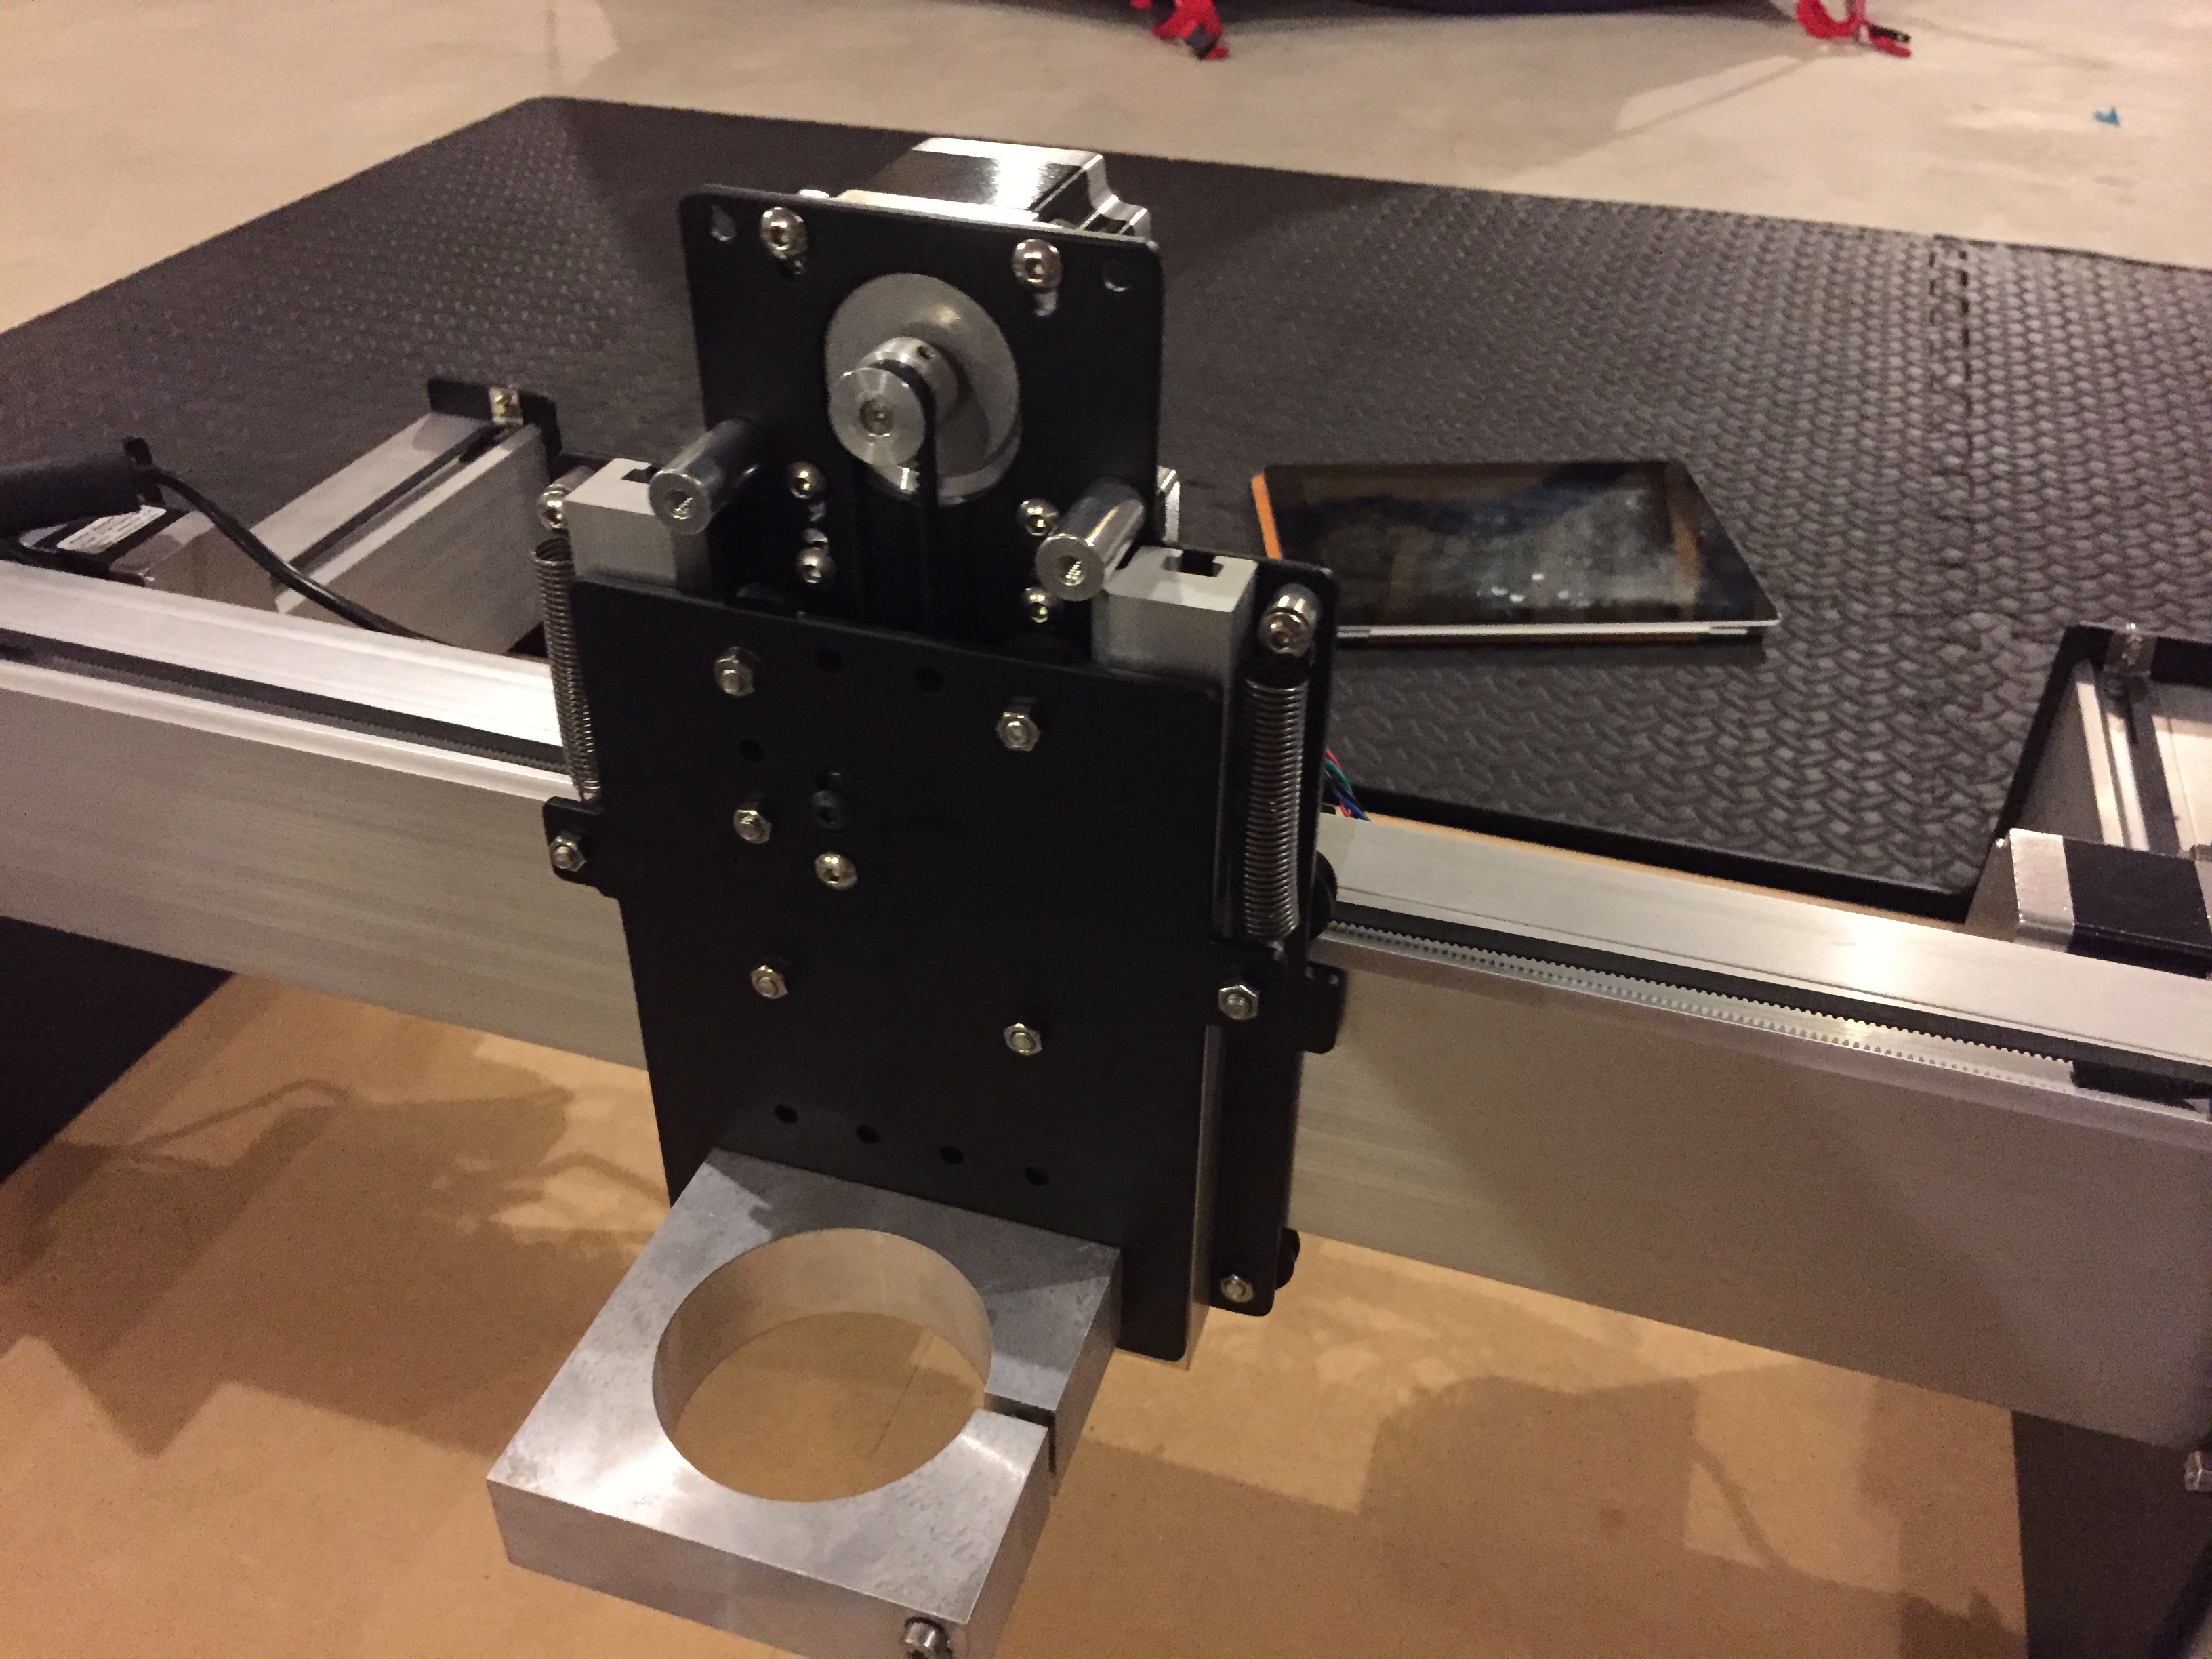
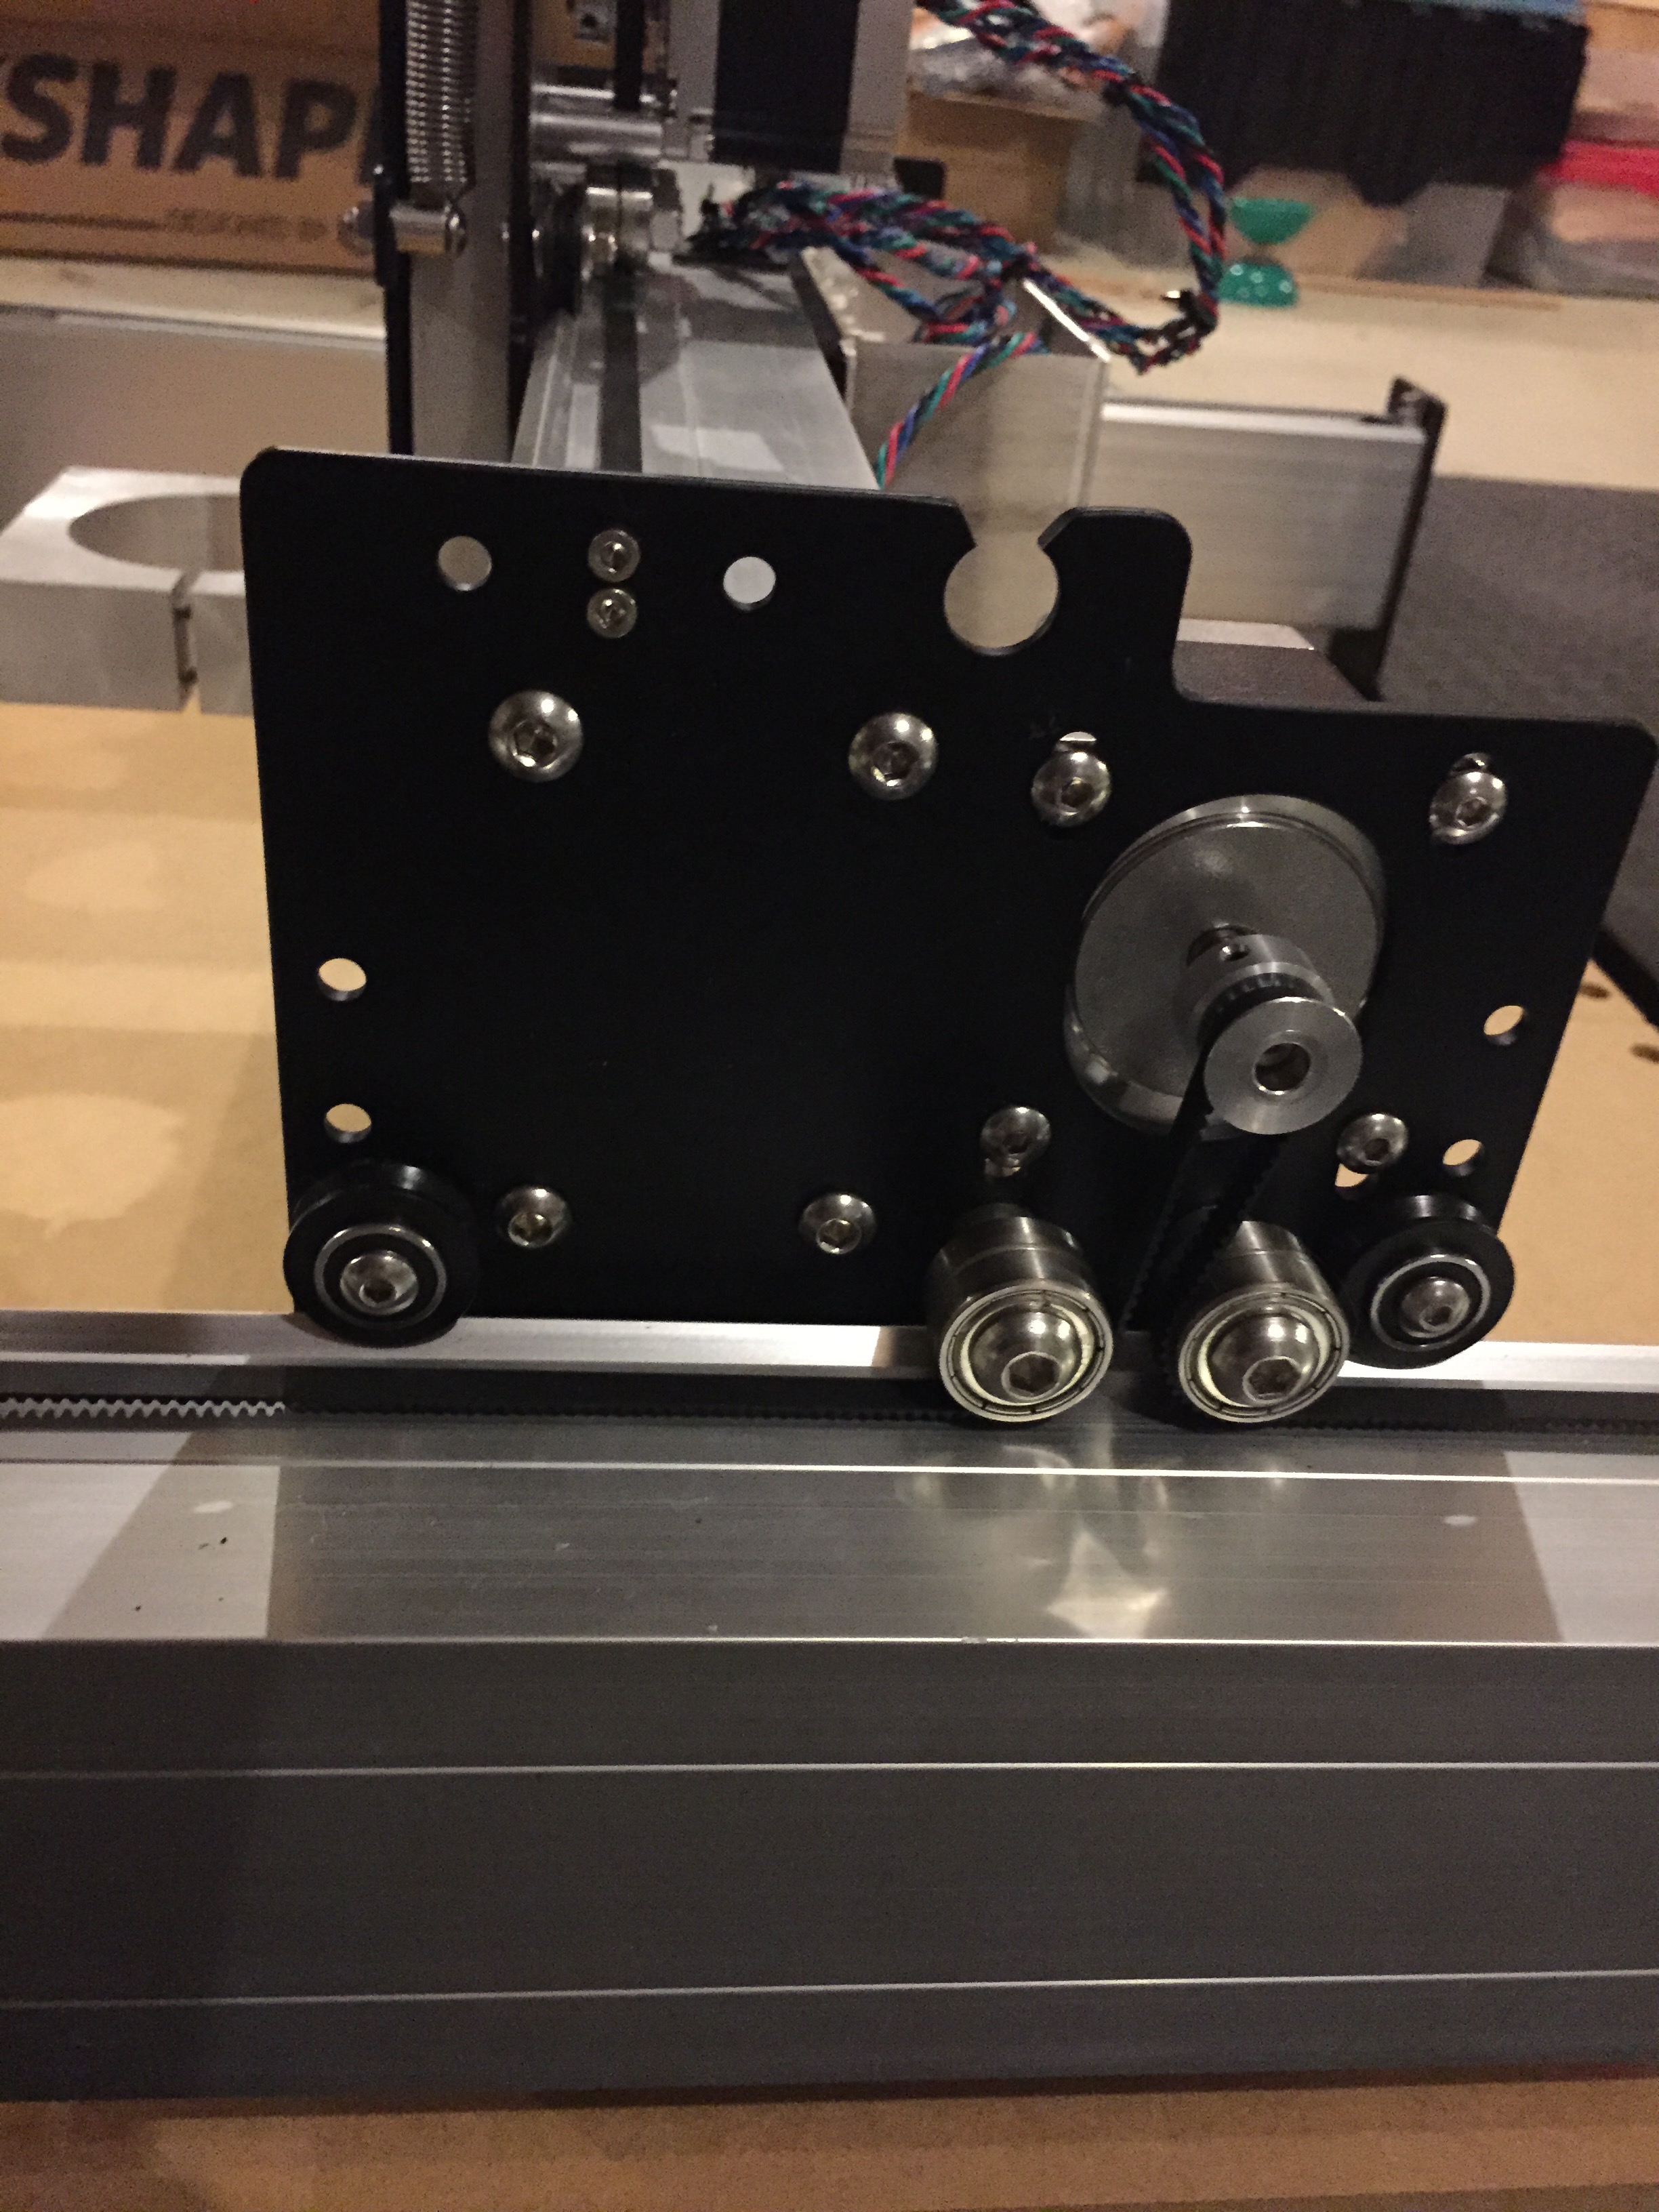
A couple of weeks ago I recieved my new Shapeoko 3 CNC Machine. It's a kit, so some assembly was requried. Having only evenings, after the kids are asleep, to work on my hobbies, it took me 2 or 3 nights to get the machine assemblied. Every thing was pretty straight forward. I think the most challenging steps where getting to machine squared up and getting the belts tightened properly.
- Squaring: put the whole frame together with out completely tighten the screws. Pull out your trusty square and check all that all parts are square to each other. I also measured a lot of places to make sure they are the same. When everything rolled nicely on the tracks I was good. We'll see if I need to tweek more.
- Belt tigtening: This took me a lot of trial and error. Basically I extended the belt bracket screws as far as they'd go, with the belt as taught as I could get by hand. I then tighted bracket screws to the wall. I had to readjust many times. Still I don't think I have correct tension. In my first cut, I saw some weird tracking issues (see letter M below).
So here are some picks and a video of first test with Sharpie.
First Cuts: Notice how the letter M is a little messed up. I used the following softward tools
- iDraw - to design sign
- jscut - to generate GCode
- OpenSCAM - to view simulated cuts
- Carbide Motion - Load GCode to Shapeoko 3
